Friday, October 2, 2009

Bummer

So I was on my way to card club last night...
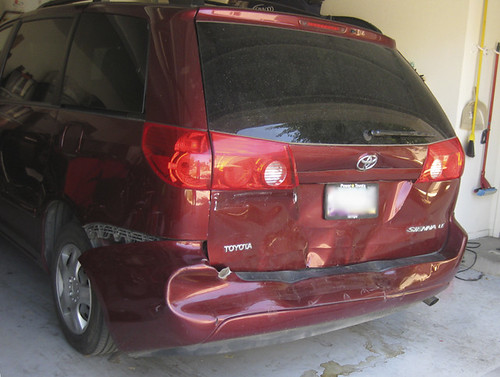
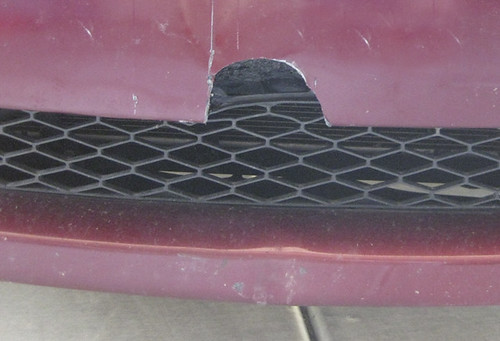
There was a really fast stop at a stoplight and got DRILLED from behind. I got hit so hard that I was pushed in to the truck in front of me. You can see right where their hitch went on my front bumper:
Two miracles: Nobody was seriously hurt, and all the drivers were moms and none of us had our kids with us.

The girl who hit me was acting squirrly and tried to tell the officers (who didn't believe her) that it was my fault too. She tried to make it sound like I hit the truck first and then she hit me. But if you look at the front end damage compared to the back end, you can tell I didn't hit the truck on my own. The damage would have been way worse in the front if I had. And I remember thinking "Phew, I'm glad I was able to stop in time." And then BAM! I saw her coming in my rear view mirror too. It was totally one of those slo-mo situations where it felt like it was 10 seconds before she hit me. I remember bracing for the impact. I'm pretty stiff and sore in my neck and back today. I think I smashed my foot in to something because 3 of my toes seem to be jammed. And for some reason, my nose hurts! I have no idea what I hit it on. My air bag didn't go off so it wouldn't be that. What's really funny was that I was wearing a head band and I tried to find it to put it back on and I couldn't locate it. I found it in the way back of the van this morning!

All in all, I am feeling blessed that nobody was hurt badly. I am worried for the lady I was pushed into. She was prego. Hope her baby is okay. And I hope no body's insurance tries to act a fool.

Monday, September 21, 2009

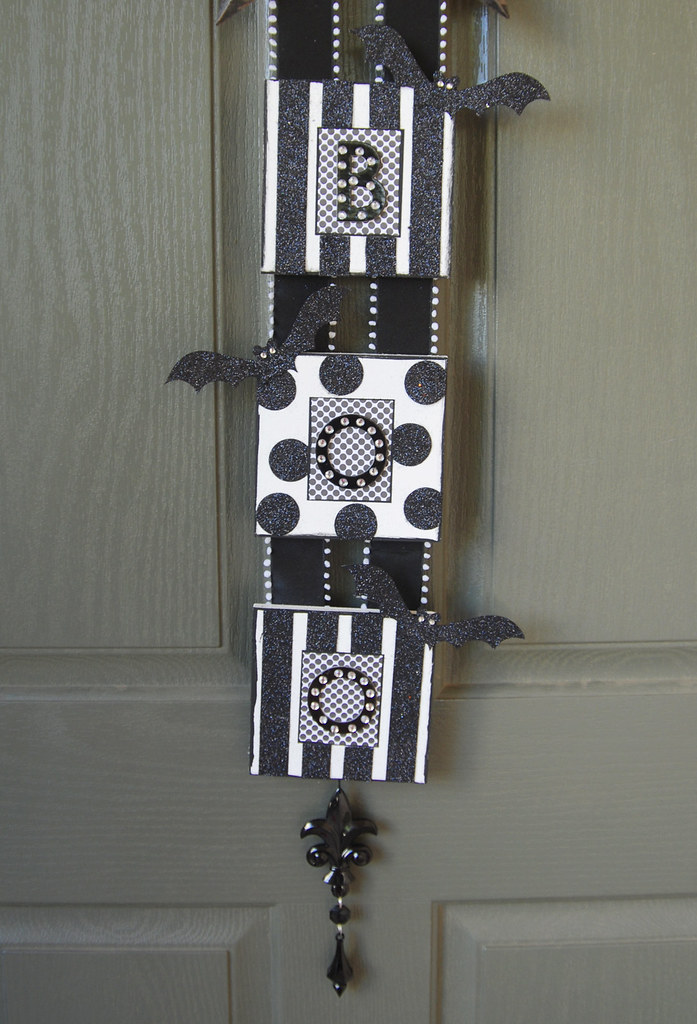
Halloween Door Hanger

I made this over the weekend and thought I should share. Heidi and Chris came over to watch the ASU game. The boys watched the game and Heidi and I found better things to do with our time such as making this craft.
I'll explain how we did it just in case you want to make it too.

Here's the supply list and where I got everything:
Star was from JoAnn's for 40% off
The 4.5 inch wood squares are from Hobby Lobby. The come in packs of 2 for $1.50
The polka dot paper came from Michael's. It was on sale, can't remember how much but you only need one sheet of it.
The ribbon was also from Michael's, also on sale
The chipboard letters were the most expensive thing. They came from Hobby Lobby and were $6.99 for a pack. I used my 40% off coupon. I can't do math, you figure it out. And yes they do come with the rhinestones on them. Darling.
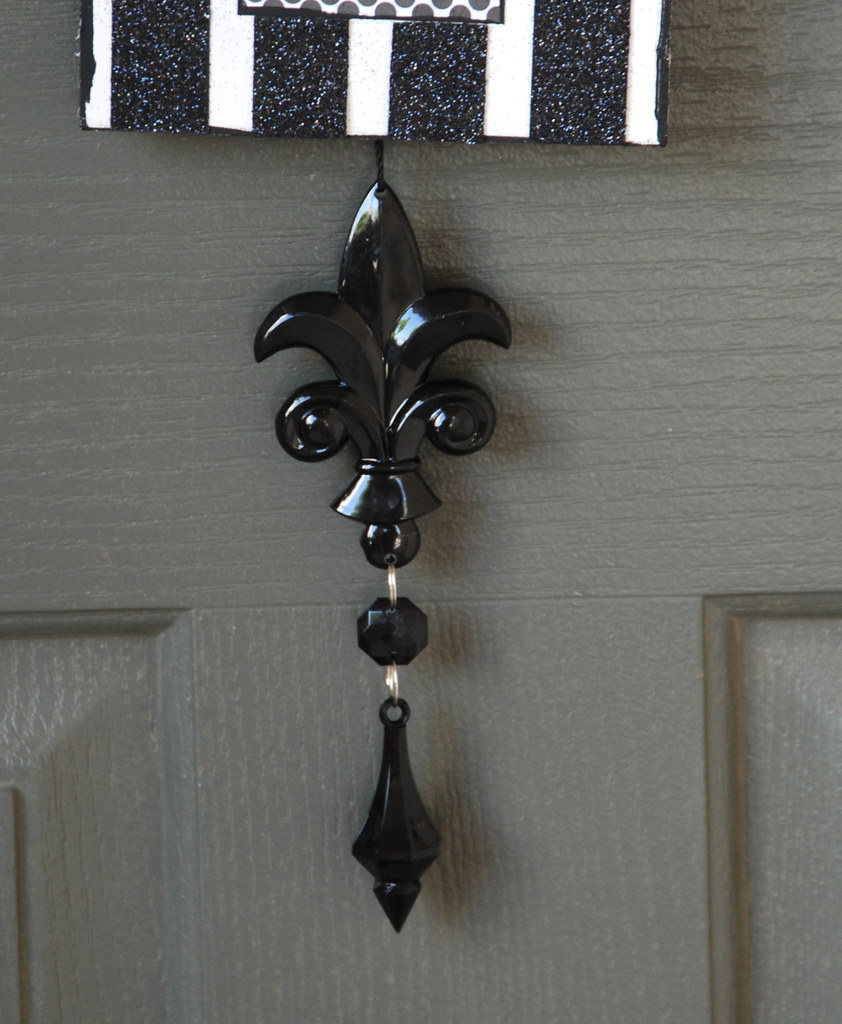
The dangly thing at the bottom was from the Christmas ornament section at Hobby Lobby. It was $1.99
And I got a sheet of black felt to glue to the back so my door doesn't get scratched. It was less than $0.25 at Hobby Lobby.
Other items I used that I already had were black Martha Stewart glitter from Michael's, black card stock, white card stock, white spray paint (you can also use white acrylic paint but it will take lots of coats), black acrylic paint, Modge Podge, glue gun, and sticky back rhinestones.

If you want to make it really inexpensive, don't get the star, just tie a bow at the top with the ribbon and hang it from the bow.

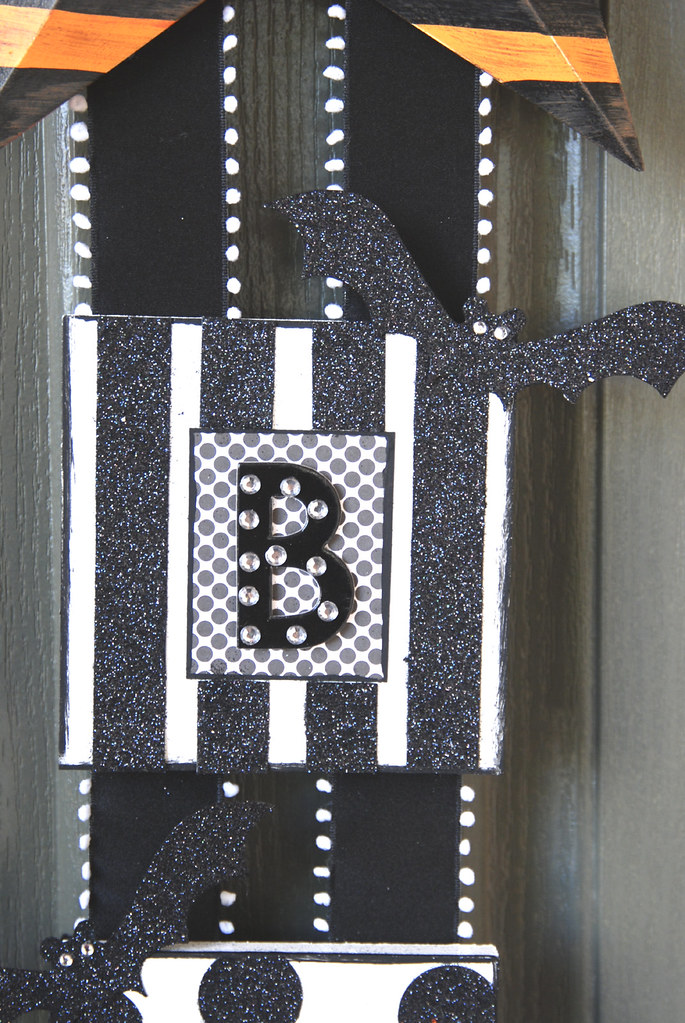
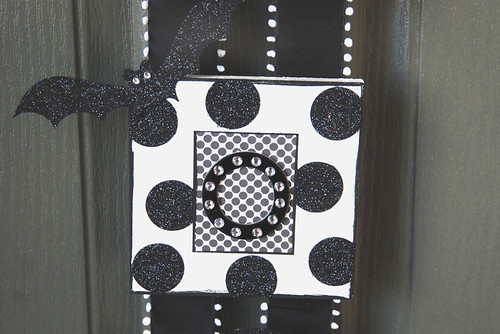
Paint your squares white. Then paint the edges of the front black. Cut out the polka dot paper to measure 2 x 2.5 inches and paint the edges of that black too. Apply Mod Podge to the back of the paper, then adhere to the center of your wood squares, and glue the letters on top of the paper.

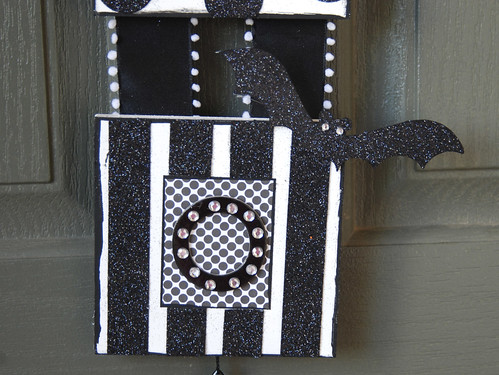
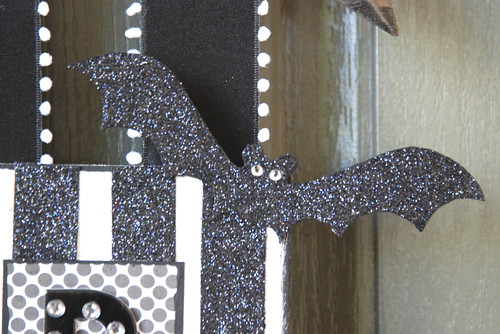
For the glitter stripes, I cut strips of black card stock 4.5 inches x .75 inches, covered them with Mod Podge and then with glitter. I spaced them out evenly on the square and then glued them down.
For the polka dots, I cut 1 inch squares and positioned where I wanted them on the square. Then, I made marks and cut them so they didn't go over the edge of the square or on to the paper. I then covered them with Mod Podge and glitter and glued them on.
For the bat, I found an image of a bat silhoutte on the Internet, changed the size of it to 5 inches wide and then printed 3 of them on white card stock. I cut them out and then covered them with Mod Podge and glitter. After they dried, I stuck the sticky back rhinestones on for eyes.
Decide how far apart you want your squares to be and cut your ribbon accordingly. Glue ribbon endsto the back of your squares with a glue gun. Make sure you spend the time to make them spaced perfectly or you just may end up with a slightly crooked sign (look at the first picture again.) Whoops.

Then glue the ornament to the bottom square. Finally cut 3 squares of felt and glue them to the back of your wood squares and ta-da! A fun Halloween door hanger.

Thursday, September 17, 2009

Halloween Decorations

This time last year I declared that I couldn't wait anymore and I put up my Halloween decorations. Of course, they went up early again this year. There's lots of stuff I hope I have time/money to make but I will show you what I have up for now.

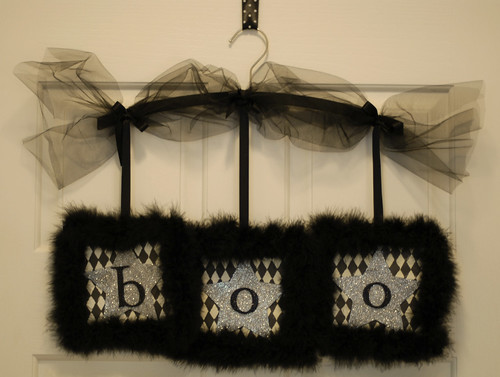
This hangs on the inside of my front door.
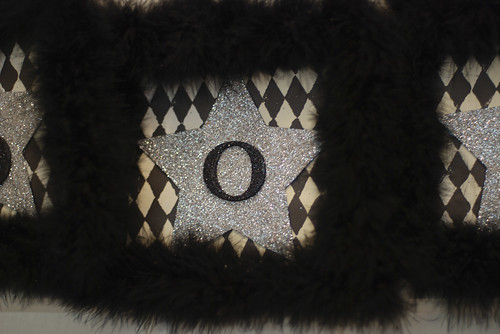
Pretty easy to do, just cut out square paper and then make a star with card stock cover it with glitter and glue a glitter covered letter on top. Then glue marabou around the square and hang it with ribbon to one of your husband's old hangers that you will find in his closet. Then add some poofy tulle.
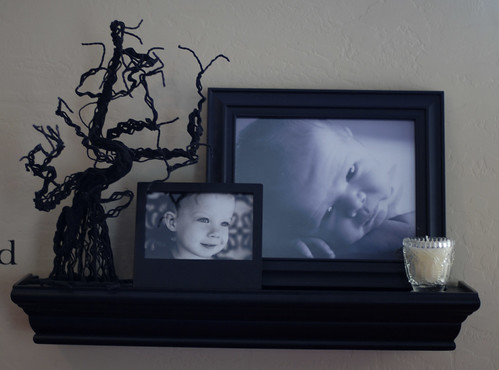
Crabby tree from Walmart Halloween Crap 2008:
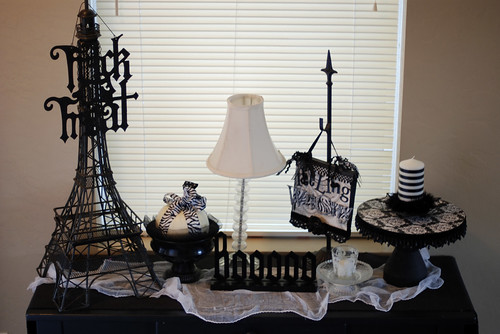
The entryway table:
My mom gave me this candle from Ikea. Perfect! It might be my fave thing.
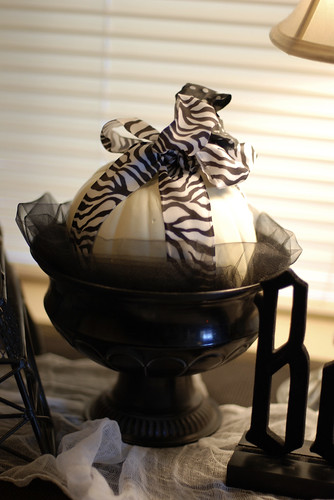
Plain old styro pumpkin from Walmart. Dressed it up with some ribbon and of course, tulle. It's a recurring theme in our house.
This might be my most favorite decoration I have ever made:
Buffet table:
I sewed these pumpkins last year. You can find the instructions here.
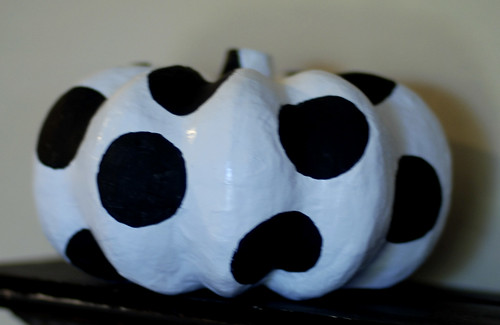
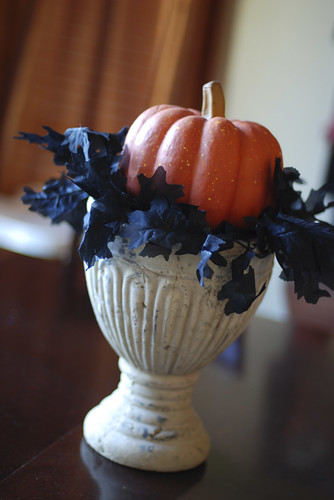
This pumpkin was plain brown. I bought it last year and couldn't decide what to do with it. It took me a whole year to figure it out, I guess.
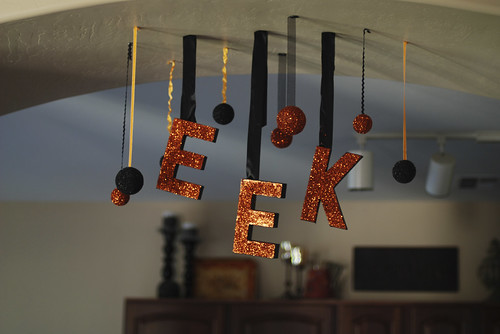
Table centerpiece which doesn't really sit on the table. My kids would destroy it in about 2 seconds.
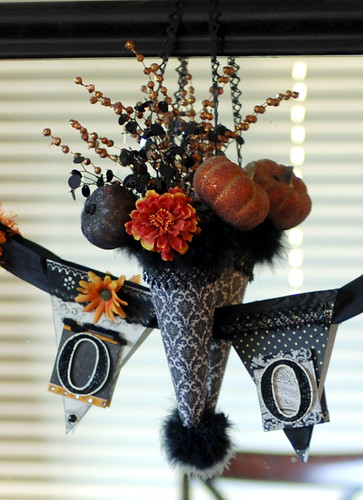
This arrangement hung from my chandelier last year but it wouldn't work in our new house due to the ceilings being so much lower. So, I found an alternate place for it:
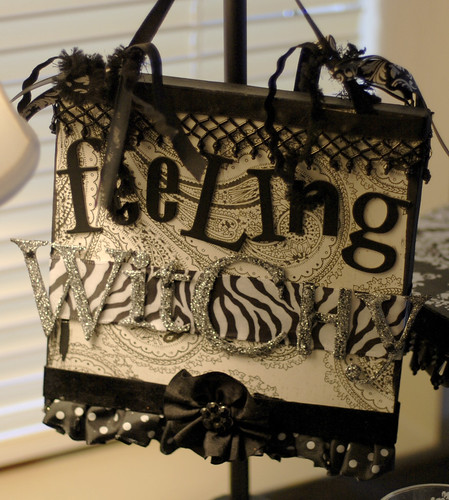
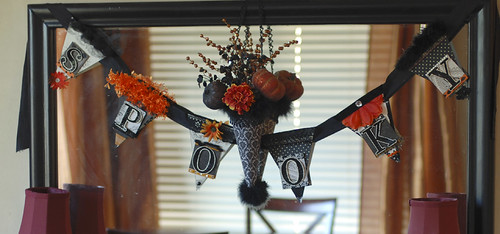
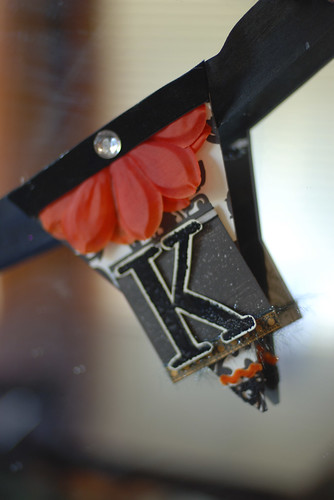
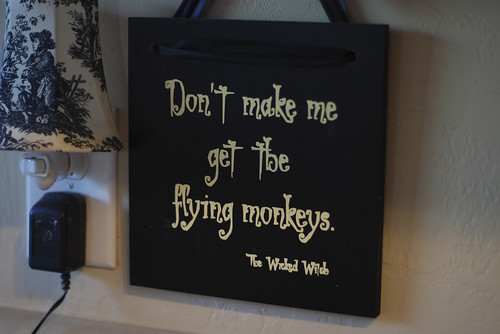
I love this sign. I leave it up year round but it works really well for Halloween:
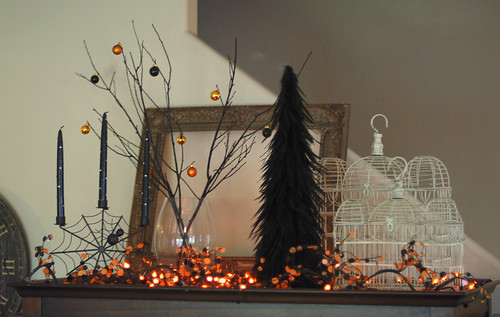
The top of the media cabinet:
Last year, I bought plain black candles from Walmart for around $0.50 and then put sticky back rhinestones on them. Looks pretty nice, I think.
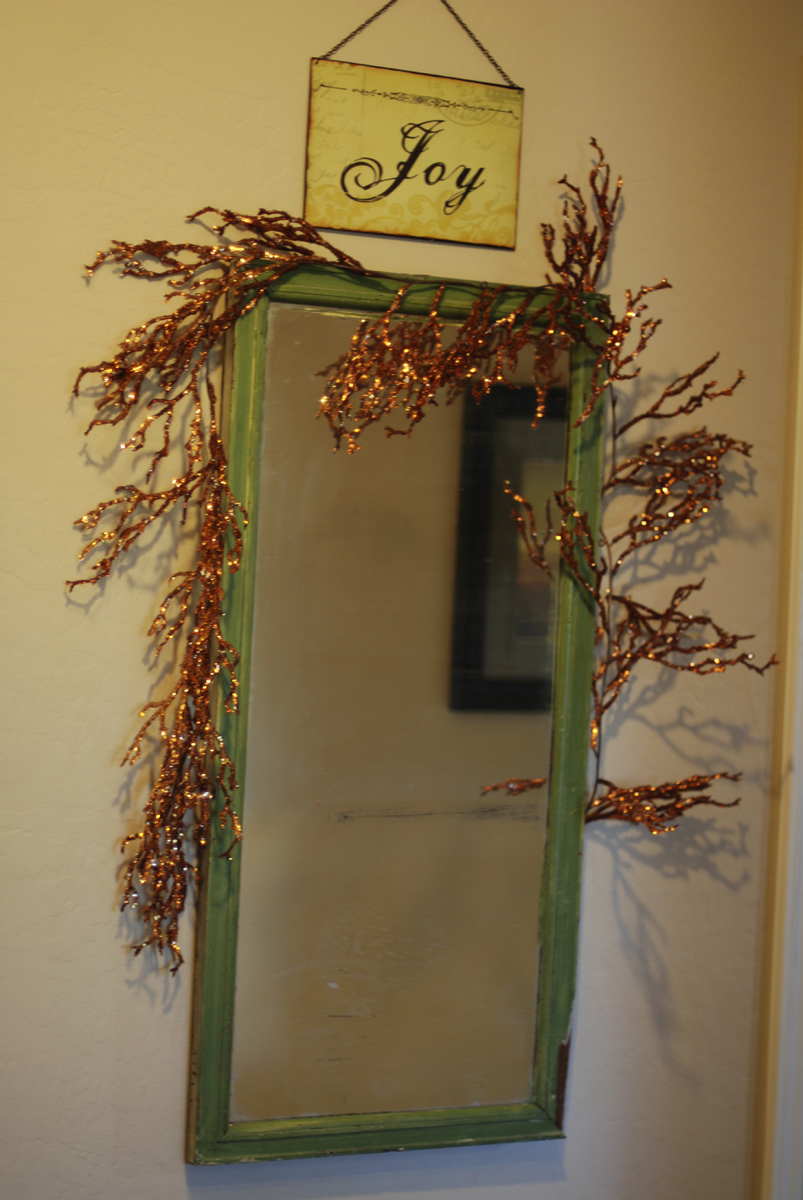
The mirror in the kitchen. I need to change out that sign for something Halloweenish.
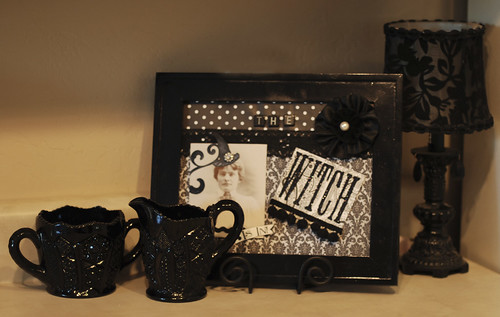
This witch frame is one of the first Halloween decorations I ever made. I used an old photograph that my grandma gave me. It was actually from a stack of sample cards that were from an old photography studio. I have no idea who that woman is. Hope she's cool with being made in to a witch.
That's it for now.

Check out Tip Junkie to see how other crafty people are decorating for fall.
Wednesday, September 16, 2009

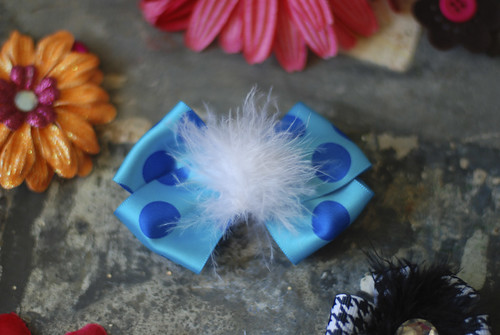
Girly Hair Bows and Flowers

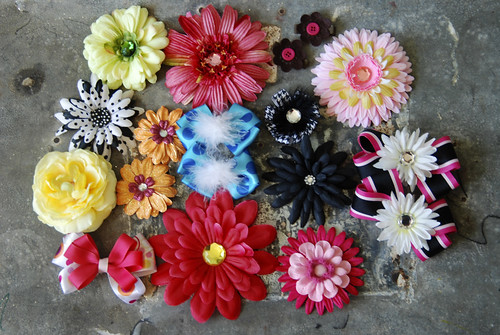
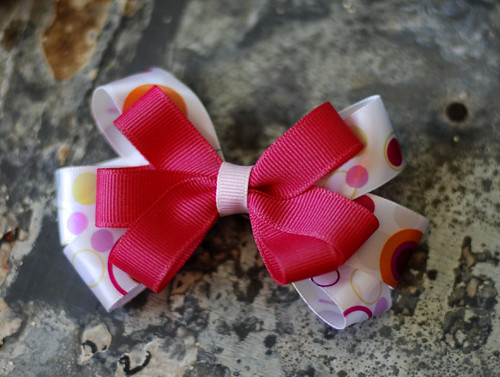
I've been having lots of fun with my glue gun and some ribbon and flowers. I wanted to make some bows and flowers to match some outfits Tabby got for school and ended up making quite a bit more.
Tried some new things:
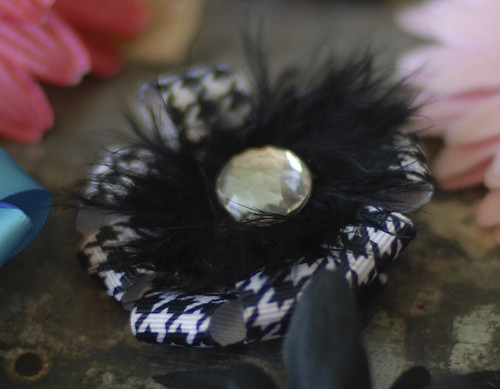
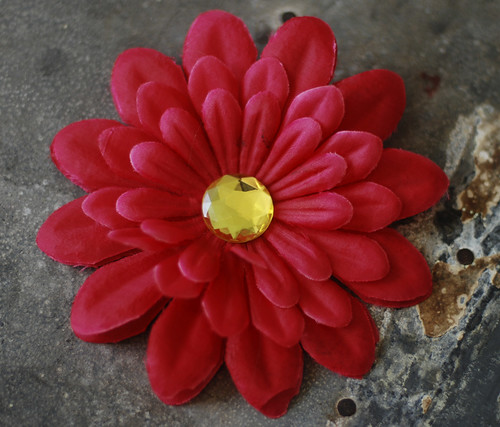
Every girl needs a "dinner plate" flower for her hair:
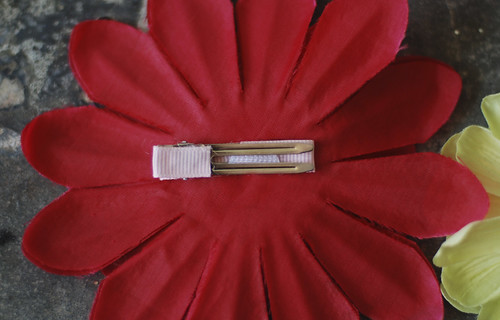
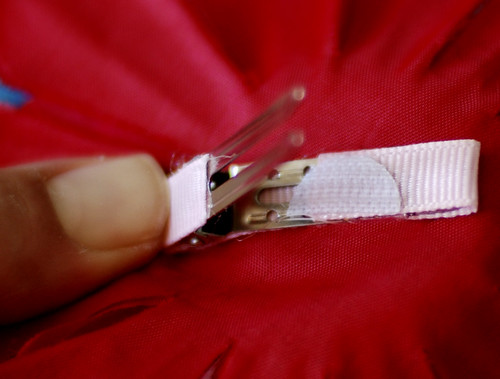
Thought I'd share how I was making them. Pretty simple. Just cover the metal clip with ribbon (not the part that goes under the hair). I also seal the ends of the ribbon with a lighter to keep them from fraying.To keep the clips from slipping I get those sticky velcro dots, use only the rough ones, cut them in half and glue them to the top inside of the clip.
Easy enough!

Friday, September 11, 2009

ASU Game

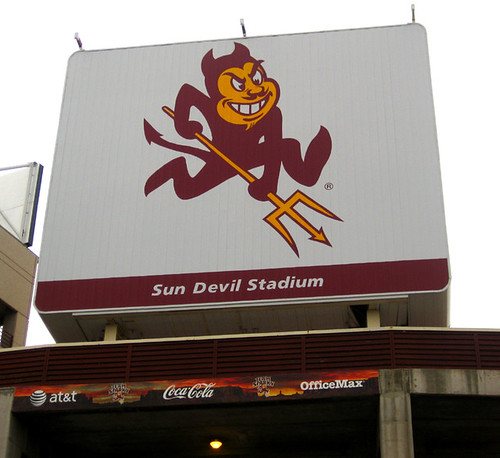
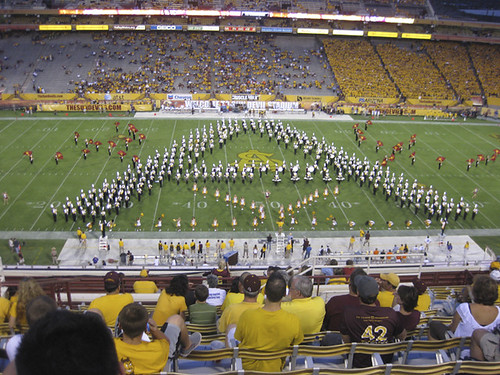
Last week, we were lucky enough to be invited to the ASU season opener. We downright embarrassed the other team. It was Idaho State though. If you don't beat them, you're pretty darn awful. I love going to the games. Being there in person makes it so much more fun to watch. If it's on TV, I stop paying attention after the first 5 minutes.

Here are some pics of the fun.
Ooo! The Band!
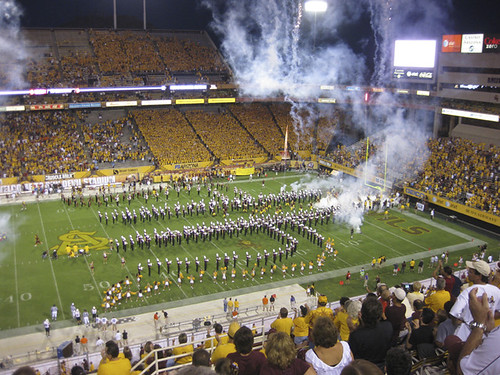
The Devils run onto the field. Lots of fireworks. The traditional entrance song "Thunderstruck" is blasting. We also always blast this song in our super cool mini-van on the way to the game to get pumped up!
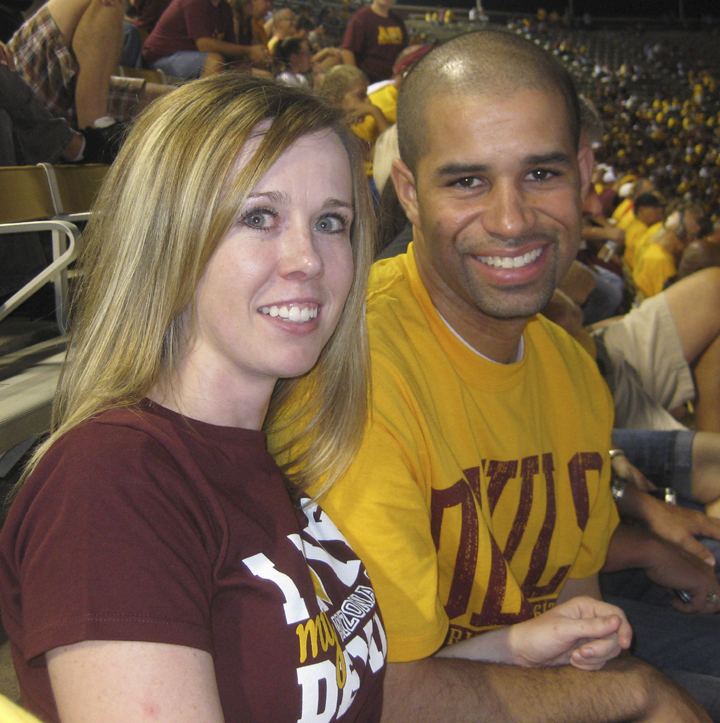
The happy couple:
Jodi and Shephard were fun company:
I'm such a girl. I just realized that I took lots of pics of the scenery and people around us but none of the actual game. Oh well, whatev.

Wednesday, September 9, 2009

I'm Bringing Crafty Back

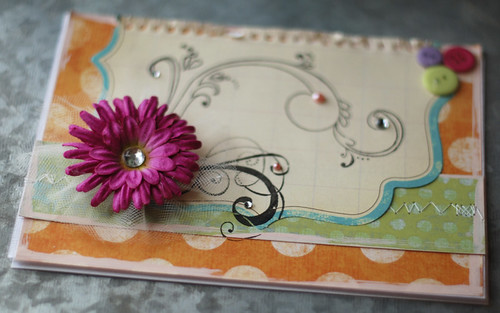
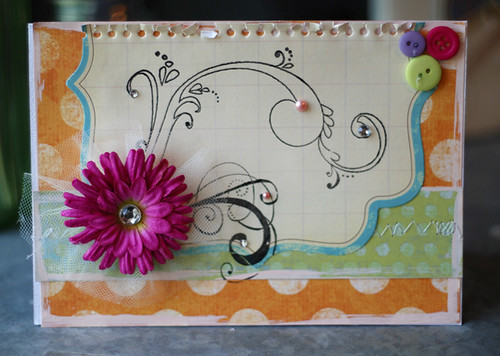
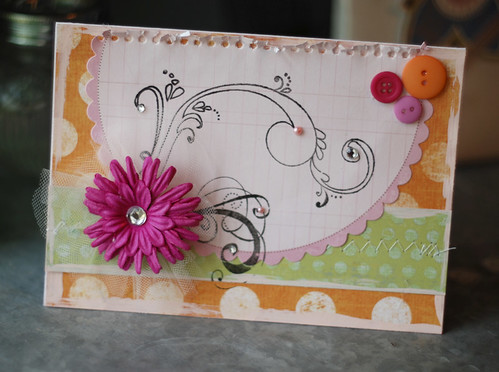
After what seemed like a long hiatus in creativity, I finally feel like I'm getting back in the groove of crafting. My office/craft room stayed clean for a long time but now its a huge mess again which is a good sign of crafty activity! One thing that helped (other than the baby getting on a schedule) is that card club started back up after the summer break. Our theme was blank inside. Which is my fave theme. I can make whatever I want. I believe there was a suggestion to make a masculine card but I tried that a while ago and totally bombed it so I stuck with girly. If I can't put ribbon and sequins on it, then I'm totally lost.

Anyway, here's what I ended up making:
I had to make two slightly different versions because I didn't have enough of one type of paper:
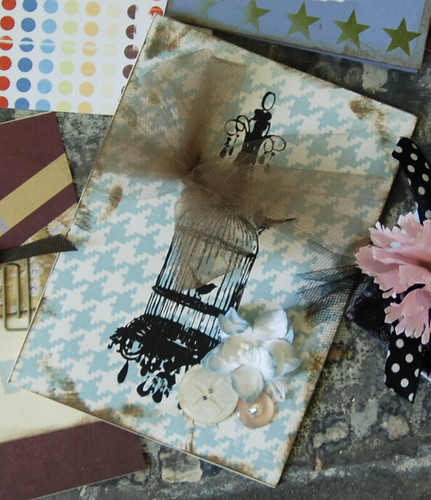
And here are all the delicious cards I got in return: