

 I'll explain how we did it just in case you want to make it too.
Here's the supply list and where I got everything:
Star was from JoAnn's for 40% off
The 4.5 inch wood squares are from Hobby Lobby. The come in packs of 2 for $1.50
The polka dot paper came from Michael's. It was on sale, can't remember how much but you only need one sheet of it.
The ribbon was also from Michael's, also on sale
The chipboard letters were the most expensive thing. They came from Hobby Lobby and were $6.99 for a pack. I used my 40% off coupon. I can't do math, you figure it out. And yes they do come with the rhinestones on them. Darling.
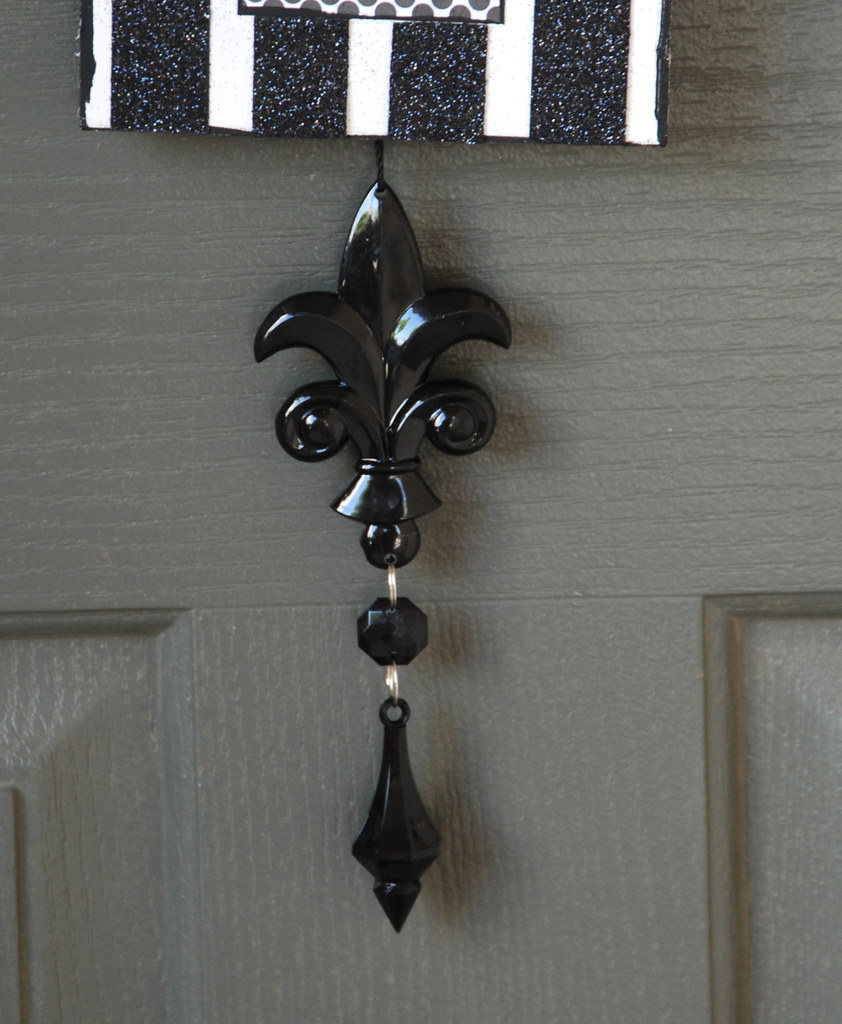
The dangly thing at the bottom was from the Christmas ornament section at Hobby Lobby. It was $1.99
And I got a sheet of black felt to glue to the back so my door doesn't get scratched. It was less than $0.25 at Hobby Lobby.
Other items I used that I already had were black Martha Stewart glitter from Michael's, black card stock, white card stock, white spray paint (you can also use white acrylic paint but it will take lots of coats), black acrylic paint, Modge Podge, glue gun, and sticky back rhinestones.
If you want to make it really inexpensive, don't get the star, just tie a bow at the top with the ribbon and hang it from the bow.
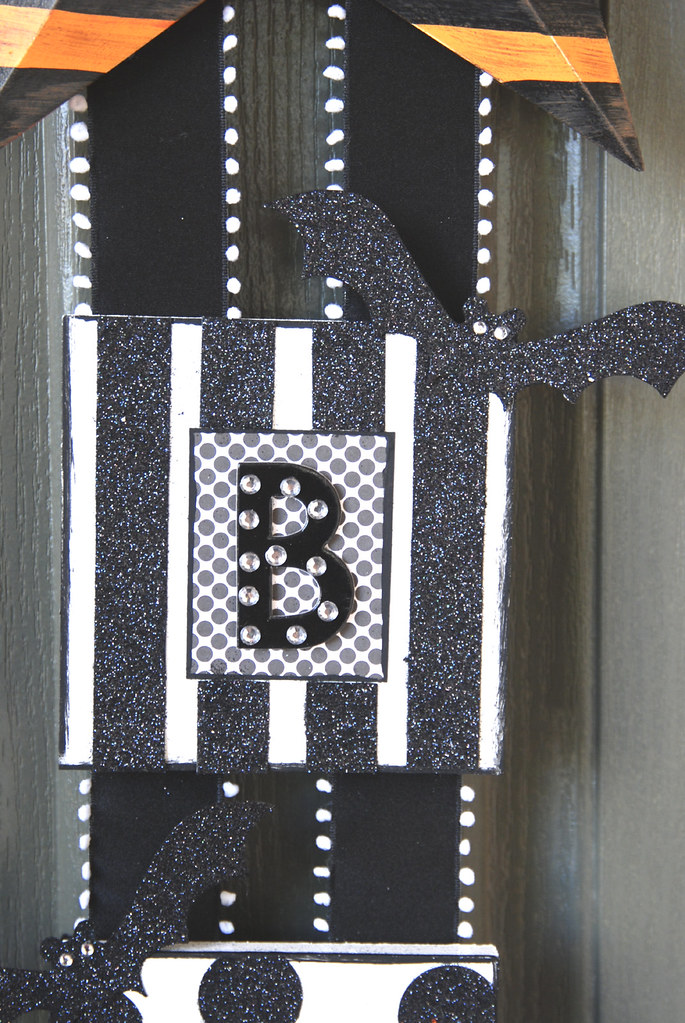
Paint your squares white. Then paint the edges of the front black. Cut out the polka dot paper to measure 2 x 2.5 inches and paint the edges of that black too. Apply Mod Podge to the back of the paper, then adhere to the center of your wood squares, and glue the letters on top of the paper.
For the glitter stripes, I cut strips of black card stock 4.5 inches x .75 inches, covered them with Mod Podge and then with glitter. I spaced them out evenly on the square and then glued them down.
 For the polka dots, I cut 1 inch squares and positioned where I wanted them on the square. Then, I made marks and cut them so they didn't go over the edge of the square or on to the paper. I then covered them with Mod Podge and glitter and glued them on.
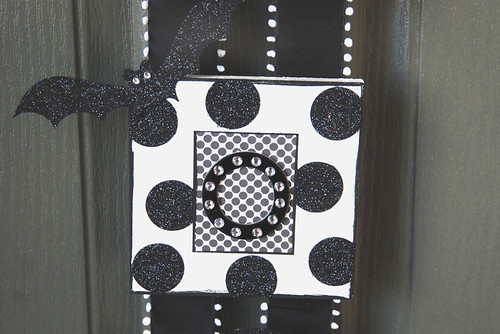
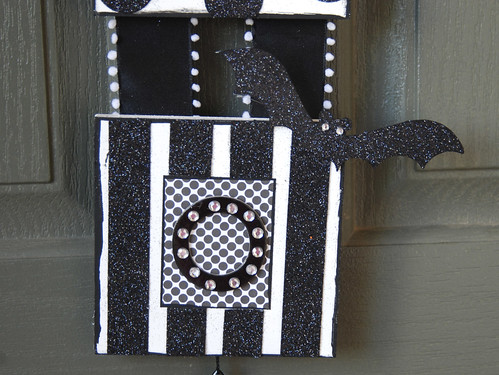 For the bat, I found an image of a bat silhoutte on the Internet, changed the size of it to 5 inches wide and then printed 3 of them on white card stock. I cut them out and then covered them with Mod Podge and glitter. After they dried, I stuck the sticky back rhinestones on for eyes.
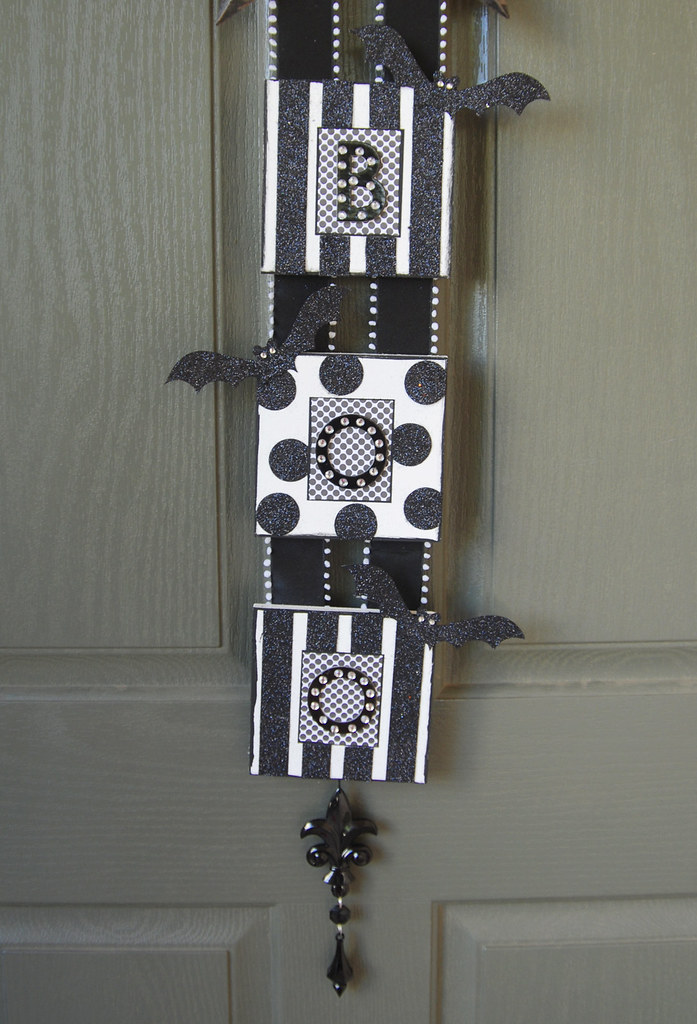
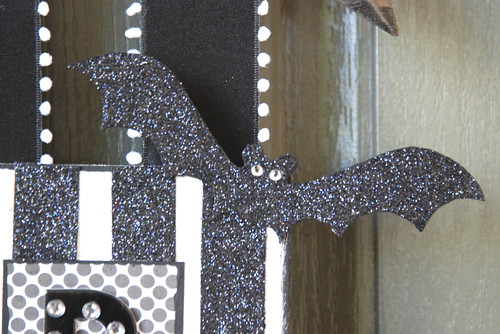 Decide how far apart you want your squares to be and cut your ribbon accordingly. Glue ribbon endsto the back of your squares with a glue gun. Make sure you spend the time to make them spaced perfectly or you just may end up with a slightly crooked sign (look at the first picture again.) Whoops.
Then glue the ornament to the bottom square. Finally cut 3 squares of felt and glue them to the back of your wood squares and ta-da! A fun Halloween door hanger.
4 comments:
You never cease to amaze me.
um... could you be any craftier? I swear! I love it :)
Alys, how in the world are things going? I requested help on facebook for fall craft ideas, and most of the comments were to check out your blog! You are amazing...everyone should just start calling you Martha Stewart.
AND by the way you have a new BABY?? You ARE amazing (I have no excuse)!! Thanks for the cute ideas, and cute blog and of course darling kids!! We miss you all in QC!
-Nancy Pawlowski
Holy Halloween Batman! I love it!!! I so wanna make one! I'll be moved before Halloween, so maybe I can make one once I'm moved!!!
Post a Comment